
June/July 2011 - Shasta Renovation
A late start this year, just too many other things going on. But we're back to work.
Pop Top:
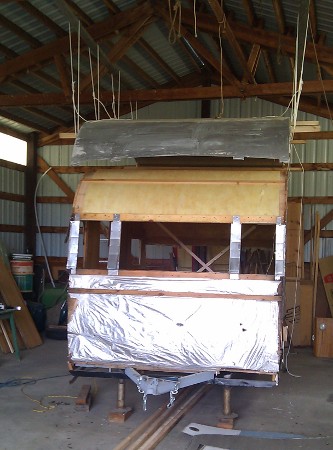
During the winter, thinking about this restoration, I decided the only way to do it correctly was to pull the roof. The Ceiling plywood sits over the wall framing so it'd be nearly imposible to replace it, as original, without pulling the roof skin. So, I started the year by pulling all those screws and poping the top. I suspended it over the trailer so there's less chance of crinkling it while working.
|
|
I also pulled the upper side sheet metal. It was the only part left and will make repairing the framing easier.
Paneling:
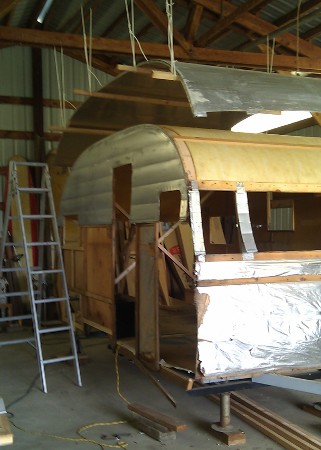
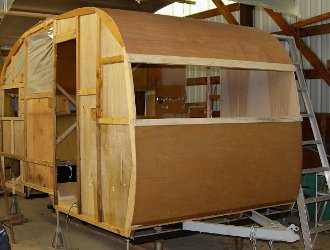
I removed the wall/ceiling paneling at the front. The plan was to install the new wall panels large and then route them back to the framing. This is what Shasta did for the original installation and, in fact, this technique worked very well.
The framing, and paneling, were rotted away in all four corners. I made my best guess at the shape of the framing in the front and rebuild those areas. For some reason Shasta used 3' wide plywood panels. They must have been able to buy this width, but I can only get 4x8'. So I'll put in additional framing and use 4' sections on the walls and ceiling.
I spent some time looking for nails similar those Shasta used to hold the plywood paneling to the framing. I couldn't find any similar enough. I think they used "screw nails" but couldn't find any of similar size and legth. I finally decided to use stainless steel "Large Diameter (truss) Head Phillips Screws". As screws they should hold the panels well and be easy to remove if needed. I ordered these though McMaster Carr. The head diameter is the same the and height is very similar to the original. The only visual difference is the phillips cross in the center and the stainless steel is shinier. These should work well.
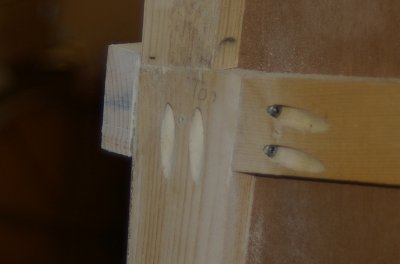
I found a great tool for working with the 3/4" framing. Kreg makes tools for pocketing screws. The picture below shows pockets in the framing of our trailer. I purchased a "Kreg Jig Jr." kit. This allows the jig to be clamped or screwed to the framing to cut the pockets. It works great for pocketing in place.
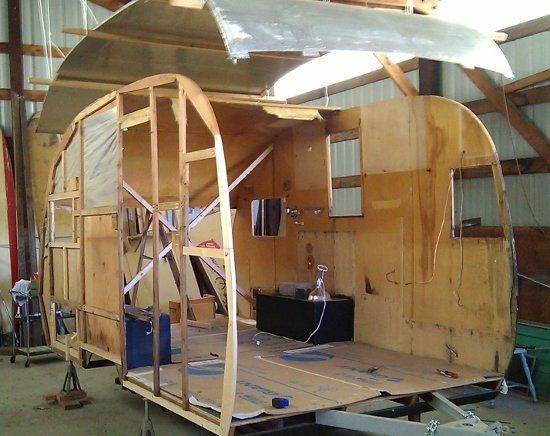
I installed wall panels starting at the front. After putting in the first, 4' section, I installed the ceiling/front wall panels.
|
|
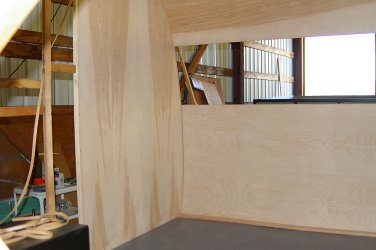
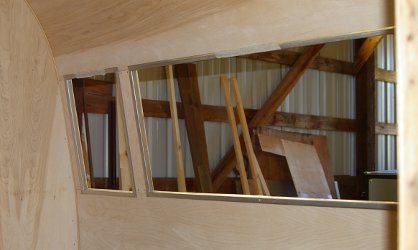
The front windows were framed in. It sounds so simple but took some time.
|
|
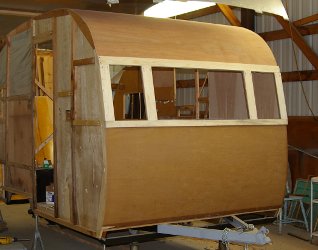
Paneling on the front third of the trailers made it much better structurally. This allowed pulling the rest of the ceiling paenls without much fear of collapse. The plan is to now finish the wall framing, replacement of rotted wood and add pocket screws for added structure. Then install the full sized cabinets, left side with refrigerator and closet. I need to put this in before the center ceiling panel goes on.
Good progress but still a lot to do.