
November 2012 - Shasta Renovation
Significant progress. We're so close to going camping, just a few details to complete.
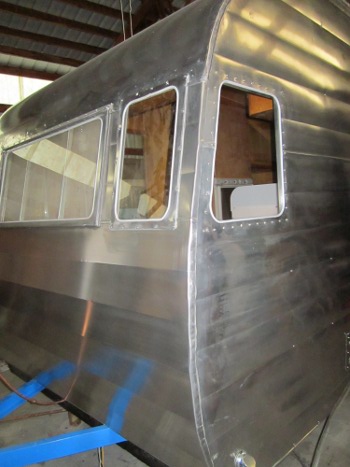
New Skin
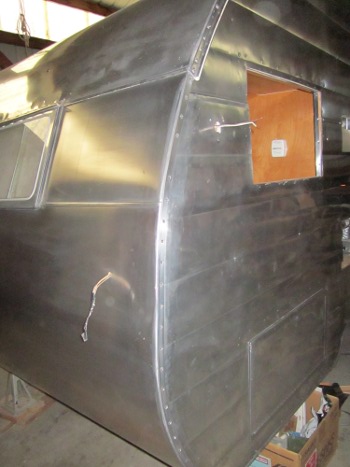
We finished fitting and installed new skin on the front and back. The original corners simply butted the skins to the edge of the framing with the addition of a J-rail. This was a major source of leaks. I decided to replace the front and back skins with enough extra to fold these over the side skins. With a strip of butyl tape between, the seal will be much better than the original. For this same reason I replaced the small sections next to the windows, front and back, allowing enough for a fold. As it turned out this was necessary. The new framing was slightly larger than the side skins in places, so just a J-rail would have been insufficient. NOTE: If you are doing the same and plan to re-use the side skins take the time to re-fit the skins and make sure the framing fits to the skins early in the process.
 |
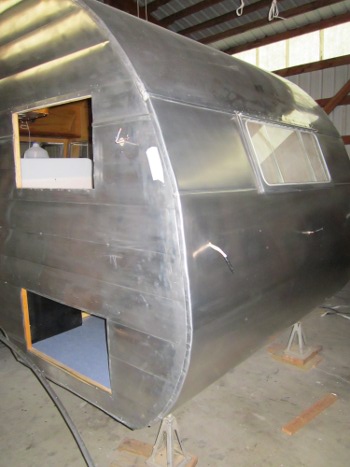 |
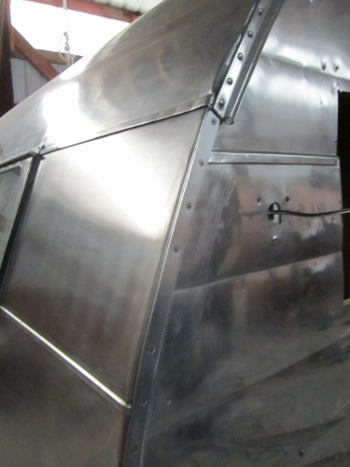
I like the idea of folding over the corners, just like the roof connection. However, after I stared, I realized this caused another problem. This fold over won't work too well unless there is a trim strip pressing the fold against the butyl tape. The original J-rail had a very narrow J over the edge against the side skins. This wasn't nearly enough to squeeze the butyl. The search was on to find a trim piece for the corners.
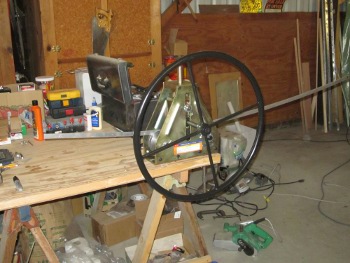
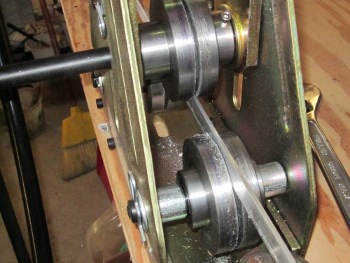
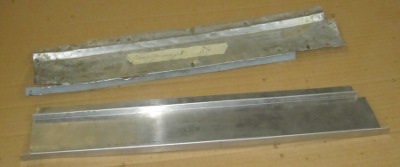
After considerable thought I decided to try using a Harbor Freight Tubing Roller to form 1/8" x 3/4" aluminum. I made new dies to support the aluminum edgewise.
 |
 |
This worked surprisingly well. After forming the strips I counter sunk for flat head screws before installing. The roof drip/awning rails went back on easily after stripping and polishing, although the awning rail takes 104 screws!
 |
 |
Doors & Running Lights
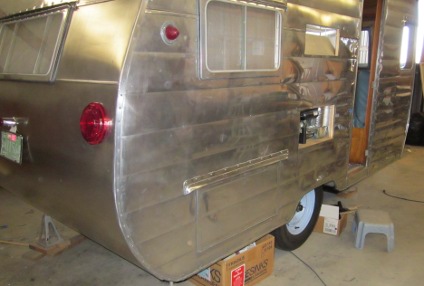
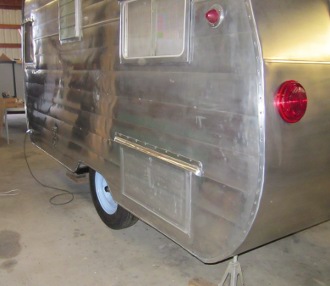
I was able to rebuild the utility doors without too much trouble. It just takes me a long time to fit doors. It was the same for the tail and running lights, just took time. The side and license plate lights are original I believe. The wedding cake tail lights aren't correct, I believe the original were very similar to the side running lights. But I like the larger wedding cake lights, and they're a great improvement over the cheap 70's lights she came with.
 |
 |

I replaced the threshold and top door frame trim. The threshold was truly worn out, she must have seen many camping trips before we were selected as guardians.
The entry door was quite a process to rebuild. I'm not too fond of the strike plate mounting, it is not recessed into the framing. Thus there needs to be a 1/4" or so gap between the door and framing trim to clear the striker. The gap is covered by the door trim, but it's still quite a gap and not much room for error. I mounted the door to its hinge and trimmed the other side to fit. Well, when I put all the hinge screws in, the door moved some 1/8" leaving too large a gap. Also, there was a 1/4" gap between the door trim and door frame trim. I suspect this gap is due the trailer framing bowing out slightly.
With both these problems I decided to rebuild the door a second time. The fitting was similar, though I installed all the hinge screws while sizing the door. The bowing of the door frame was a little harder to correct. This required the door to bow pulling it in at the top and bottom. I finally decided to put a 3/4" x 3/4" piece of aluminum square tubing along the latch side of the door. I bent this to fit the door frame using the HF Tubing Roller. I was amazed the door latch fit without a screw needing to go though the edge of the square tubing. That would have required some additional construction.
 |
 |
After the second try, the door fits well. I replaced the door trim at the top and bottom of the door but was able to re-use the sides.
Etcetera
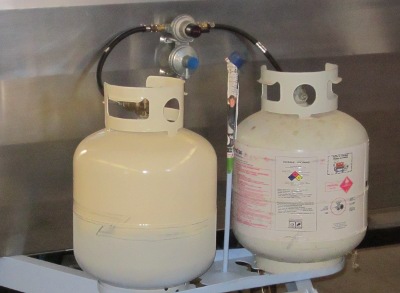
I was able to re-install the windows and eyebrows (drip caps) without too much trouble. Also obtained a new propane regulator. This one automatically switches tanks when one goes empty and flags the empty tank. I made some brackets to mount the regulator to the front of the trailer. We're in the process of painting the tanks with a Shasta Z-stripe. You might note the tongue color changed, the original blue was too bright.
Details To Do
I need to install the refrigerator vents, now being painted, before moving her to a heated storage unit. That shouldn't take more than a few hours. Once there we can take our time and not rush so much. Thus, it may take a few months to complete the final details.
The things we still need to complete are listed below. Only the first two or three need to be done before we go camping. I'm sure it'll be like a house though, always something to do. But we'll soon be "moved in".
- Finish plumbing for sink, supply and drain
- Curtain rods and curtains
- Re-build front window rock guard
- Finish re-building screen door
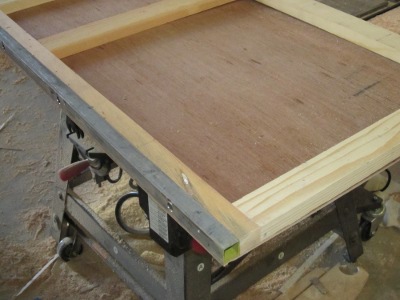
- New Table
- New cutting board
- Sink Cover
The next installment should have finished pictures. Pretty pictures with trees instead of the inside of a barn.