Fini - Shasta Renovation
Wooo Hooo. We're declaring this renovation/restoration complete. There will be more work, but we define that as "repair". Her first trip was overnight Feb. 5-6, 2013. Just two miles to the local KOA to check out systems, very promising.
Here are the last details completed:
Plumbing
A previous owner had moved the gray water drain from a tube through the fender to a hose fitting through the skin. Also, I can't believe the city water inlet was original. This work was done roughly. I built a plate to cover the holes in the skin and to hold fittings.
 |
 |
Curtains
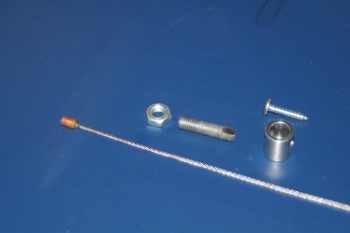
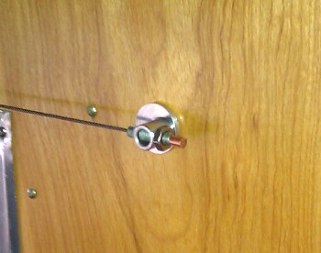
We weren't pleased with the original curtain rods. Denise liked the cable systems but we couldn't find any which were scaled for a small trailer. So I constructed a cable system as shown below. The cylinder screws to the wall with the threaded rod sideways through this cylinder. A 1/16" cable goes through a hole in the threaded rod and is swaged. The nut is adjusted to tension the cable. One end of the dinette windows didn't have a "stud" to screw into so an end with a larger base was made.
 |
 |
 |
 |
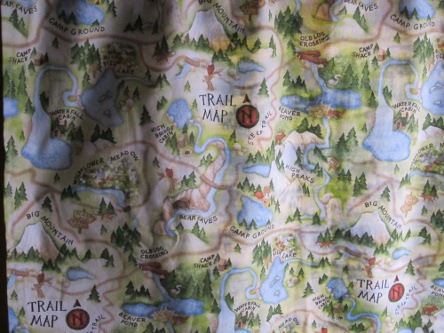
Denise made up curtains which came out great. Now, where ever we go, we'll have maps so can't get lost.
 |
 |
 |
 |
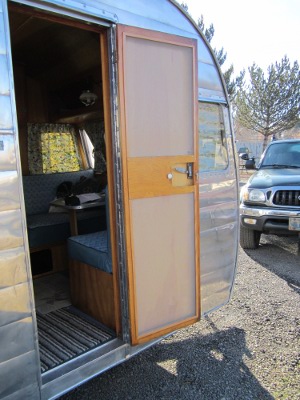
Screen Door
The screen door was refurbished. Besides refinishing the only repair was new screening.
 |
 |
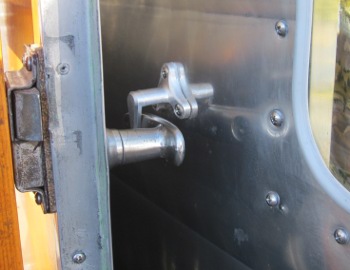
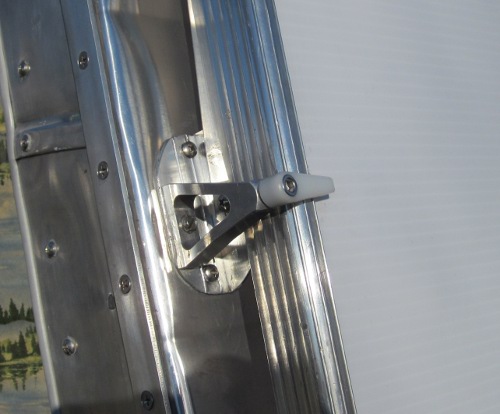
Door Catch
When we obtained Shasta she had three screw holes where the door opens. One screw had a string on it that looped over the door handle to hold the door open. I discovered (Vintage Trailer Forum) that originally there was a fitting here which held the door open. The door handle simply slips under the fitting and is held open. Slickest thing ever. So I copied the original. It works great.
 |
 |
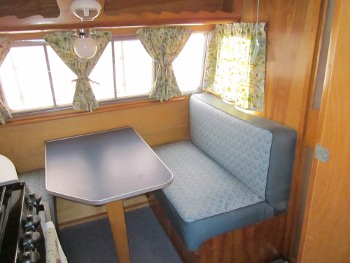
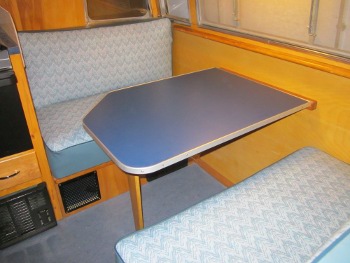
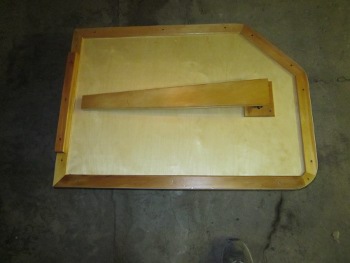
Table
A new table was constructed with our counter laminate. It's about 2" shorter than the original to allow more room to get in and out on the street side. A locking table leg mount was used. The aluminum trim was from a local hardware store and was easily formed around the arcs.
 |
 |
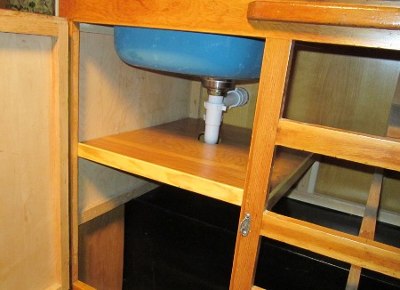
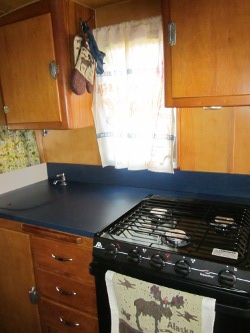
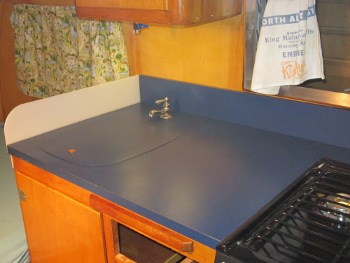
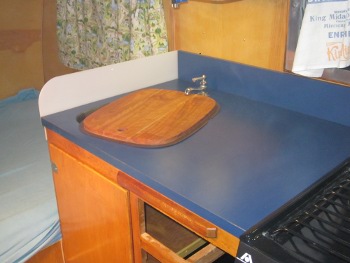
Sink Cover
A sink cover/cutting board was made. The cutting board was made of birch and fits inside the sink. An overhanging piece of laminate was glued to this. It should prove a very handy addition. I still love the flush mount sink, much better than the original with exposed plywood.
 |
 |
Rock Guard
Shasta came with a rock guard. I'm sure this wasn't original but is a good idea. It was quite beat-up. The aluminum frame was broken in several places and the plastic insert weathered beyond repair. I repaired the frame and used a sheet of coreplast (plastic cardboard) for the insert. The coreplast may be replaced with a more substantial signboard material, but it'll do for now. It's shown above.
The rock guard was held down with a screen door hook on each side. Not an elegant solution and beside I hesitate to put new holes through the skin. I built latches which use the same screws as the rock guard supports.
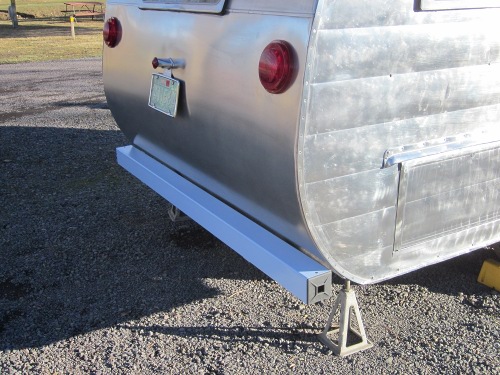
Bumper
Another non-stock addition was a wooden bumper attached to the frame. The thought of denting the new skin was too much so I re-installed the bumper. We'll, the supports were cleaned up and an RV bumper was installed. We're hoping it'll provide storage for hoses, awning poles, etc.
Etcetera
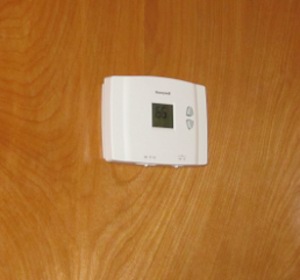
More repair than renovation, but the furnace thermostat was replaced. The original Suburban thermostat had no "off" switch and the lowest setting wasn't enough to assure the furnace was off. If it came on, with the propane turned off, it would just run the fan, cause wear and tear, and run the battery down. SO, a new thermostat.
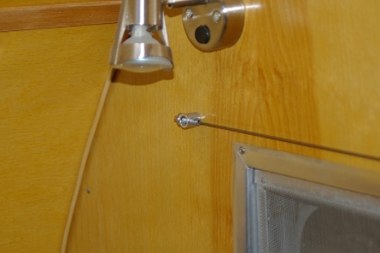
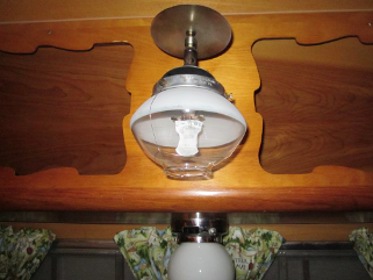
We figured this one out before the renovation started. We lost one glass globe for the propane light, it fell out while traveling. We obtained a new one but put a thin wire harness on it to keep it from falling. It worked so we did the same after renovation. The picture below is of this harness.
 |
 |
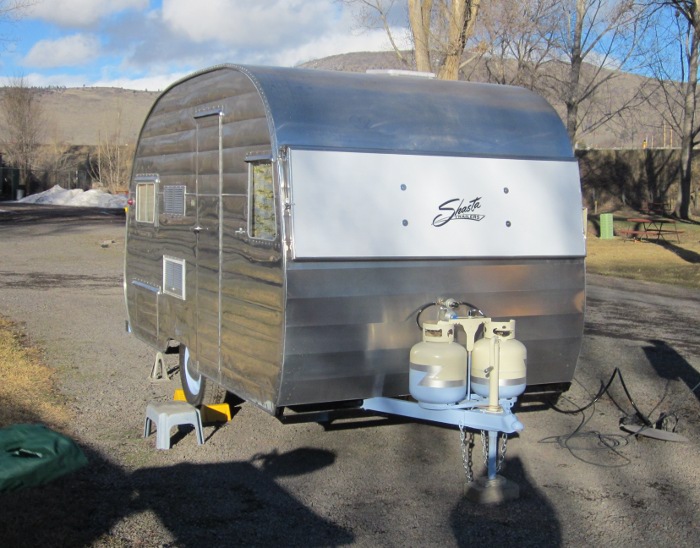
Fini
So Shasta Lodge Currin is on the road. A new beginning. We should all have years of adventures ahead of us. Happy Trails.