First Cue - Forearm
I started the build by making the forearm. It seemed the harder section with a taper and the points. I cut a maple blank to about 0.025" over final diameter. Actually I cut two, there were problems with the first requiring a rebuild. The first used a driving center, the same as used on the Sherline. This didn't hold the blank solidly and the V slots came out crooked. I made a second which was long enough for use in a three jaw chuck on the dividing head. This second try came out well.
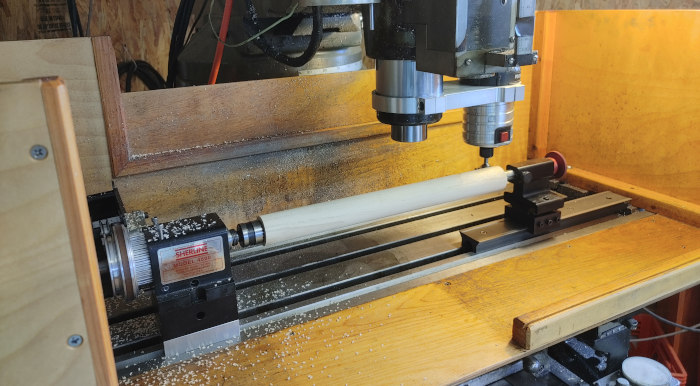
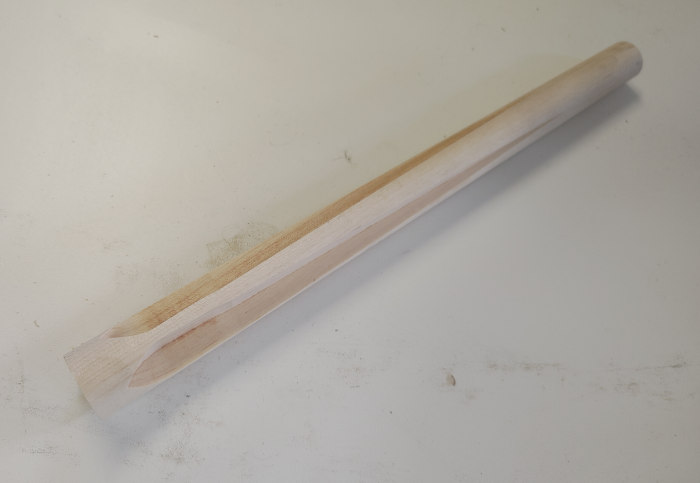
Four V slots for points were cut using a dividing head. The set up is shown in the Tooling section. My first try is shown below and if one looks closely crookedness in the slots can be seen. It's not much but enough to scrap this part.
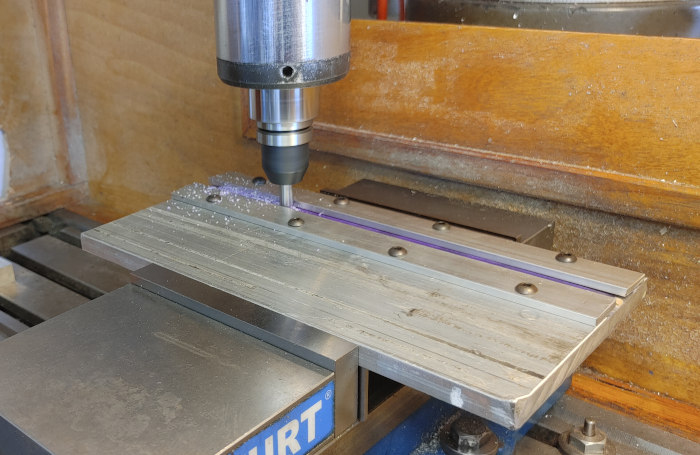
On to making the point blanks. I glued up a sandwich of veneers, violet/white/violet, using slow/thin West System epoxy. This was solidly clamped between aluminum plates to cure. Once cured four parts, sized for points, were cut. The veneers need to be cut at 45 degrees to form clean crisp points. A jig was made up to make this cut using a 90 degree spotting drill.
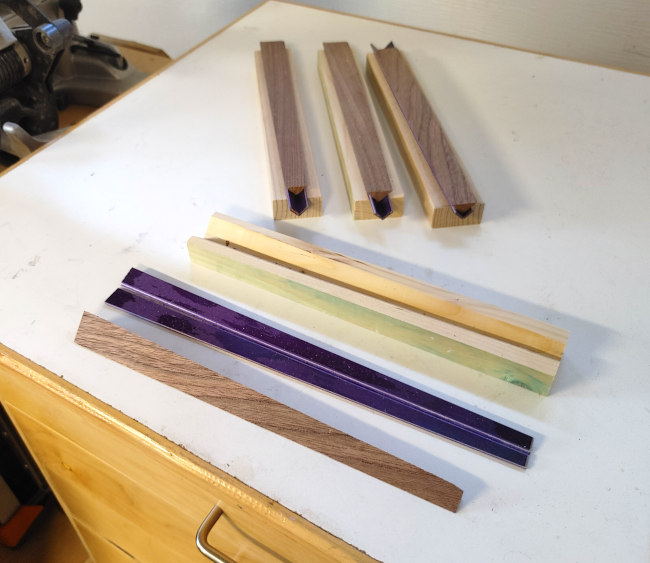
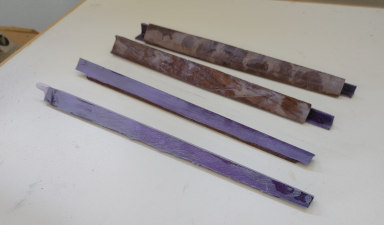
The picture below shows the parts to be assembled into points. I had some trouble gluing up the veneers at 90 degrees by themselves, as most makers do, so I made the V-blocks shown. The veneers and walnut blanks were put into these 90 degree V blocks and clamped into place. As with the veneer press they were isolated with wax paper so as not to adhere to the blocks or clamps.
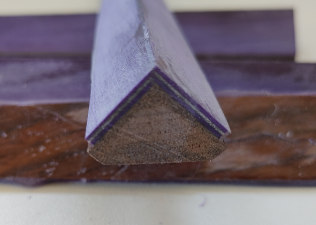
The picture below shows the point assemblies as they come from the V blocks. The thick end is cut square as shown. A problem can be seen, but only noticed after the cue was finished, in the second photo. The veneers were cut at 45 degrees to form a nice bevel at the corner. Not sure how it went together but it is not a clean miter of the two veneers. This is much more critical at the other end as it forms the actual point. More on this later.
 |
 |
The next step is to glue the points into the forearm. This was done again using thin slow acting West System epoxy. The forearm and points were coated and placed in the grooves. The square block on the end is temporary and to keep the points from sliding down into the curved portion of the V groove. It was wrapped with waxed paper and then compressed with surgical tubing.
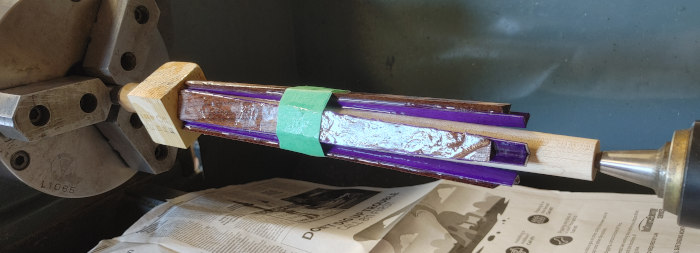
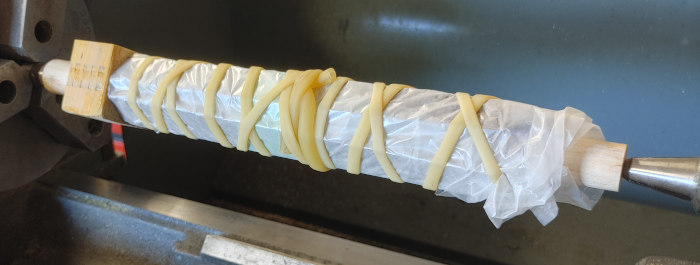
A simple jig was built for the table saw to roughly trim the points. The first picture below shows the results of this rough trim. The forearm was then taken to the mill and mounted using the existing centers.
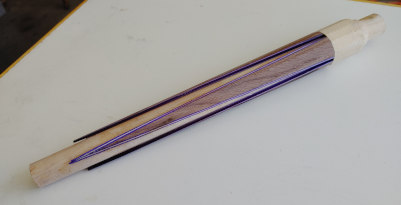 |
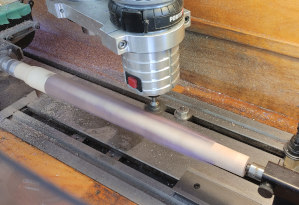 |
Finally the forearm turned down showing the points.
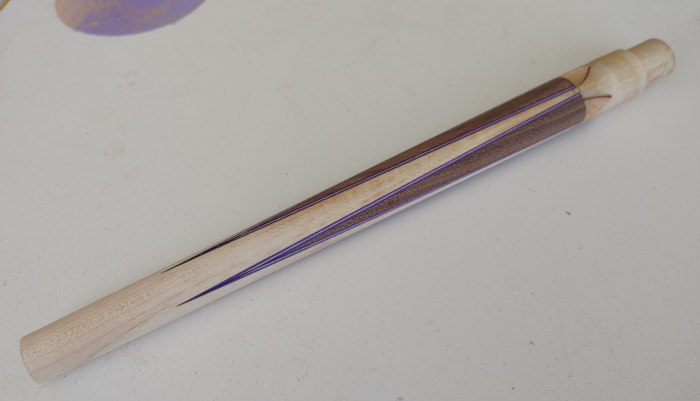
The picture below shows the end of the forearm once the excess length is cut off. If you look closely you can see the veneers line up well, but slight errors can be seen. This picture also shows one of the nylon collets used to hold this, now tapered, forearm in the lathe chuck.
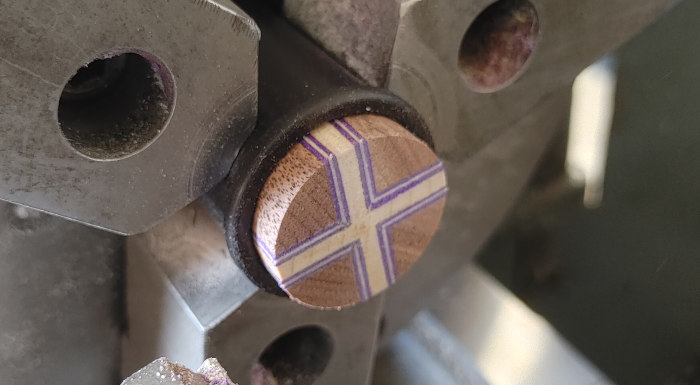
This is the setup used to machine the A-joint into the forearm.
Cue #1 : Main Handle